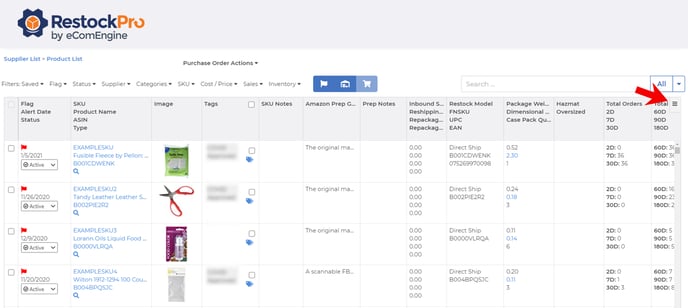
Why did cross dock go away?
We have been working to improve RestockPro's reliability and accuracy and make it a better tool for you. Unfortunately, we found that the cross dock order type caused the majority of the bugs in RestockPro. Although it was a useful restock model for many of our sellers when it's working, it's not useful for anyone when it's broken. Removing cross dock will allow our team to focus on making improvements to the rest of RestockPro.
If you used the cross dock model, we have other options for you. The local model provides the same essential functionality as cross dock, plus some added flexibility. Or, you may find that the direct model actually works well for you.
How can I continue using RestockPro without cross dock?
For existing orders that won't be complete by June 30, 2022, click here. For new orders, you can use either the local or the direct order type instead, with some adjustments.
Local
Local is a good option if you want to track how much inventory you have received from your suppliers and have in your warehouse or prep center, even if it will be prepped and shipped soon after. The basic process is as follows:
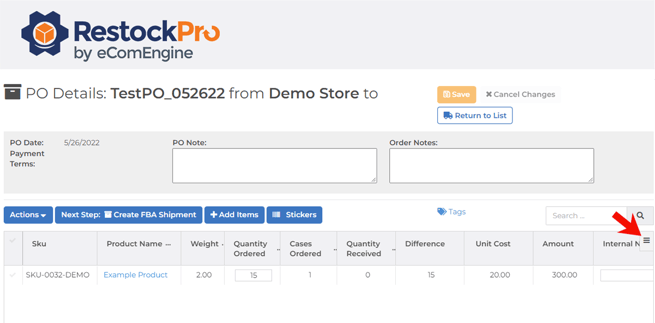
- Create a purchase order from your supplier as usual, selecting "My Warehouse" as the destination.
- Mark items on the PO as "received" when you receive them. These units will be added to your local inventory.
- Once your PO is received, you will see an option on the PO to create an FBA shipment. Click it to be taken to the Local Inventory page, which will be automatically filtered to show items that were on that particular PO, and create a shipment.
- Here, unlike with cross dock, you have the flexibility to add other items to the shipment, even if they were not on the PO.
- Proceed with the shipment as you would normally, either creating it entirely in RestockPro or downloading the shipping plan file to upload to Seller Central.
In other words, you will be creating a PO and receiving the items to your local inventory for prep, then creating a shipment from your local inventory, rather than handling the entire PO and shipment as a single order.
For more information, see Walkthrough of a Local PO and Shipment.
Direct
Using direct instead of local involves some workarounds, but this is a good option if you prefer not to track your inventory on the Local Inventory page. You can create a direct shipment in RestockPro up then click "Save/Exit" instead of proceeding to create the shipment on Amazon. You can then use the unfinished shipment in RestockPro to create a CSV to use as a purchase order. The complete steps to do this are as follows:
- First, make sure that “Direct” is the restock model for this item on the settings page or on the associated supplier.
- You may also want to make yourself the supplier for this item. This is particularly helpful if you also use the direct model for true direct shipments, and you need to distinguish the two.
- Next, go to Restock Suggestions and begin a shipment by entering the quantities on the items that you want to replenish, as usual.
- You will see the pop-up modal asking you to name your purchase order and choose where your supplier (in this case, you) will send this purchase order. Select “Directly to Amazon”, then click on “Create PO”.
- Add more items to your shipment by typing in the quantities as usual, if needed. Once you have finished adding your items, click on “Create FBA Shipment”. This will take you to the “RestockPro FBA Shipment Creation” wizard.
- Select who will prep the items and click Next as usual.
- On the next page, make sure the Shipment Name, From Address (this should be your address), and Label Preferences are correct.
- Important: Now, instead of clicking on “Next”, click on “Save/Exit”. This will allow RestockPro to save the existing shipment in the system without creating the shipment on Amazon.
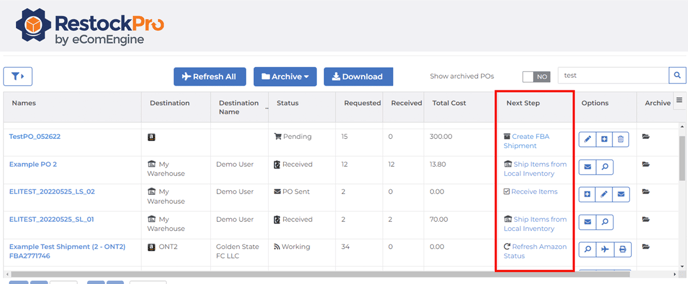
- To create a PO for your real supplier, go to the POs and Shipments page and click on the shipment you just created.
- On the Shipment Details page, click on the hamburger icon that’s located on the top right of the grid:
Choose “Download All”. This will allow you to download a CSV file of the shipment which you can use as a reference to know the quantities you ordered from your supplier. - You can then customize the CSV with the columns you need and send it to your supplier.
- Once you fully receive all of the items from your supplier, you can then proceed to create the shipment on Amazon. Just go back to the POs and Shipments page, find the shipment, and click "Next Step: Create FBA Shipment."
This will take you to the shipment creation wizard, and you can continue as you would with any shipment in RestockPro.
I have existing cross dock POs/Shipments that won't be completed by June 30. How can I finish them?
If you need to continue editing your cross dock POs/shipments past June 30, 2022, (e.g. receiving items or changing quantities), you can archive them and re-create them as a local PO. To do this:
- Go to POs and Shipments and find your cross dock order.
- Click the folder icon to archive it.
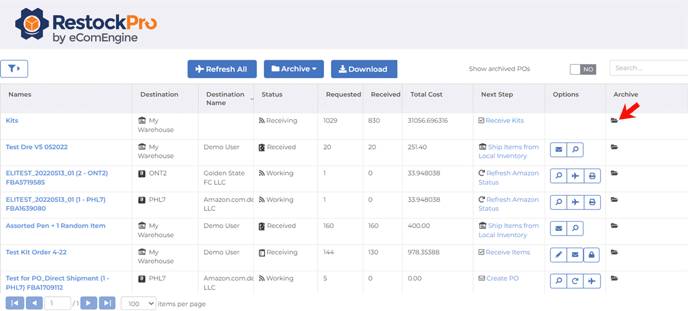
- Then, click into the order.
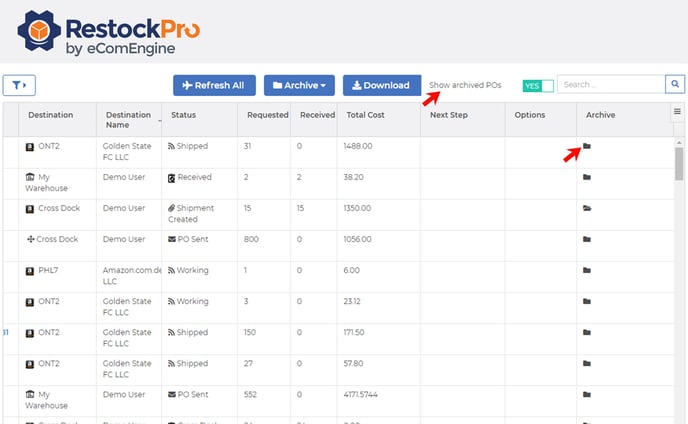
- Note: You may need to set "Show archived POs" to YES.
- Go to the Shipment tab.
- Click the hamburger menu on the right side of the grid.

- Choose "Download All."
- Once the CSV file has been downloaded, go to the Restock Suggestions page and click into a supplier or "All Suppliers" to see the suggestions grid.
- Click the hamburger icon on the right side.
- Choose "Get new PO template."
- Once the template has been downloaded, open it and the CSV download of the cross dock shipment. Copy the data from the cross dock CSV file to the template file:
- Copy the "Sku" column to the "ProductSKU" column.
- Copy the "Item Name" column to the "ProductName" column.
- Copy the "Ship Qty" column to the "OrderQuantity" column.
- Save the template file with a new, descriptive name.
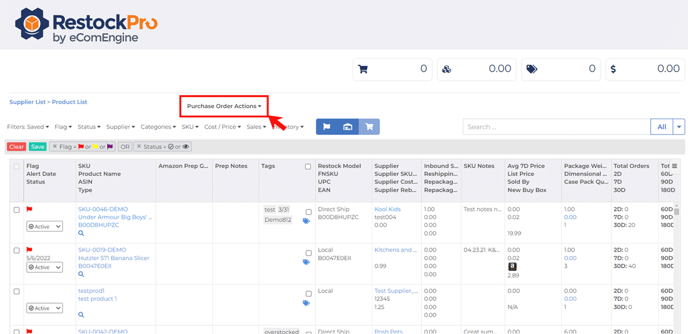
- Go back to Restock Suggestions > "All Suppliers." Click on "Purchase order actions" in the center of the screen.
- Choose "Import a Supplier Purchase Order" and select the new file you just saved.
I'm not sure this will work for me.
We understand that every seller (and their warehouse team) has a different replenishment process, and this might cause some inconvenience. If so, please reach out to us to discuss your process personally. RestockPro is a very flexible tool, and we may have recommendations to make this transition easier for you.